Monday, April 22, 2013

All Together

I'm very happy with how it all turned out but need to hurry things along in order to catch up where I am with it today.  In addition to being able to sweep the limb angle through a very wide range, I can move the limbs in and out and adjust up and down to fine tune tiller and string tracking issues.  The possibilities are endless.  I imagine I could find myself endlessly tinkering with these adjustments too so I don't know for sure if it is a good thing yet.  Hahaha!

Foot Bow Limb Riser Assembly
The adjustable limb angle allows me to easily and gently string even a very high draw weight set of limbs with little more than a ratchet and socket.  I love it!  No bow presses necessary.

Shown Assembled with limbs back and loose string


Rear View Showing Arrow Pass-Thru and Limb Angle Adjustment Screws
Shown rotating limbs into position and increasing string pre-load


Braced and Ready to shoot!


Frame

I have very limited machining tools, so the design of the frame for the bow had to be simple enough to be made with little more than a drill press and band saw. The top and bottom plates are 1/4" thick aluminum plate.  I simply drew up the outline and hole locations, printed it out, and pasted it to the plate.  After a little careful drilling and some tap-and-die operations, it was pretty much complete.

Top and bottom plates
The limb pivots are made from thick wall steel tube that is drilled and tapped for a 5/16" cap screw.  This allows the limbs to pivot and provides a very large range of limb angles.  It will probably make more sense when I show how it all goes together next.
All parts with arrow pass-through & limb holders


Tuesday, March 26, 2013

Limb Holder

I've settled on a standard limb holder that is two inches wide on the outside and can accommodate limbs that are up to 1.75" wide.  The length of supported limb end will be 4.5".  This means that I can take advantage of many of the Alevekiu limbs that I already have but it will also work with my own limb designs.  The design is simple and requires little more than a drill press and cut-off saw.  I am using 2"x2"x1/8" square steel tube.  I also made another set from 2"x2"x3/16" square aluminum tube, but it only accepts limbs up to 1-5/8" wide. 

Limb Holders, 1-5/8" wide with my limb top, Alevekiu's 1.75" wide at bottom.
I use a single screw to clamp the limb in place so it works with multiple thickness limb ends.  I feel this works pretty well but also feel it may be an unnecessary complication.  The more I think about it, the more I realize that the limb doesn't need to be clamped down.  It will be held in place by string tension alone and perhaps all I need is to add blocks to fill the gap between the top of the limb and the limb holder.  I will keep it as is for now and see how it holds up when I put it through several full draw trials later this year.

Sunday, December 23, 2012

2013 Bow - The Heart

I haven't sat completely still since the 2012 Flight Nationals.  I don't believe a day goes by where I don't have at least a fleeting thought about getting this project off the ground again.  To do it right, I need a design solution that addresses the issues that can make it so difficult to string, tune, and shoot one of these high performing bows.  The limb holder is at the heart of the new bow.  It must be very stout, reliable, predictable, and adjustable.  It has to be simple and easy to build with minimal tools.  The way my bow holds onto the limbs sets a mini-standard for the limb geometry.  Limbs will need to be interchangeable.  The fewer parts I need to change and adjust from one set of limbs to another, the easier it will be to focus on the shooting which is challenging enough.

Fortunately, I have 100 sets of viable limbs at my disposal already if I use Alevekiu's geometry.  It is easy and doesn't require dowels or holes in the limbs.  The limb bases are simply made with a standard width (two in this case) and length and thickness.  They are held in place with string tension alone.  Simple.


Saturday, October 13, 2012

2012 Flight Nationals

The 2012 US Flight Nationals flew by without a foot bow entry from me, but fortunately my good friend, James Sanchez, came ready.  James jumped into the arms race with his version of the unlimited foot bow that Harry Drake used to set the standing record of well over 2000 yards in 1971.  James designed the bow to accept the George Alevekiu limbs that I had.  It was strung up for the first time at the September Flight Nationals and looked stunning.

James Sanchez, 2012 with Unlimited Footbow

I built a robust Astroflight string with minimal serving and heavily padded loops.  The breaking strength of such a string exceeded 2000 pounds.  Everything fell into place except for one detail that was not in anyone's control: the weather.  Steady barrages of rain turned the flats into a giant salt lake which interrupted our shoot as well as cancelled planned motorcycle speed runs planned nearby.  By Sunday, some but not all of the water drained away.  It was too much investment in time and energy to just pack up and drive away. James decided to risk a shot.  The 50 year old bow limbs performed beautifully.  It was as if they had just come off the forms this year!  To my surprise, the first shot busted the string but cleanly blasted the arrow off into space. We were out of time to make another string and attempt any further shooting.  There was two lengthy searches for the arrow but it was never found.  The leading theory is that the ground was still too soft from the rains and the arrow simply buried itself deep below the surface.  But how far did it go?  A mile?  More?  Unfortunately, the year has passed and must patiently wait for drier weather in 2013.

James has created a Facebook page with additional photos.  See: http://www.facebook.com/flight.archer.9

Sunday, January 29, 2012

Autopsy

I always return from a flight shoot with lots of energy and enthusiasm for flight shooting and next year's plans.  But before doing jumping in, I performed a thorough autopsy on the failed 2011 bow.  Here's what I learned.

What Went Wrong:
  1. The Alevekiu limb holder I used did not allow for precise adjustment of the limbs.  I could use wedges underneath the limbs to adjust the limbs in and out, but this is not very user friendly and requires numerous wedges to get the perfect tiller.  George Alevekiu's solution was to build dozens of fixed limb holders of various lengths and limb angles.  This required complete dis-assembly and reassembly of the bow just to change the limb angle.  It also takes up a lot of space in the shop!
  2. One set of limbs is not enough.  When pushing these bows to the limit, something always will go wrong.  For example, when I dropped the bow at the hotel parking lot, it put a pretty good ding in the outer limb and could have ended the chance to shoot the bow at all.  To my surprise, I found the damage suffered from the drop wasn't the root cause of the shattered bow limb.
  3. One can never be too careful with the glue joints.  I used a very strong but very thin epoxy to laminate the limbs.  I also was in a big hurry on the limb that failed and did not mix enough epoxy to get the job done so I took a shortcut and spread it as thin as possible.  Much of the limb delamination is clean, indicating a glue starved joint.  In addition, the glass set around the shop for a couple of years before I used it.  A couple passes with sandpaper and thorough cleaning wouldn't have hurt either.
  4. The nock has to be very robust!  The nocks on the limbs I built were very narrow and string grooves carved very shallow compared to the limbs George Alevekiu used.  I now realize that there is a very good reason for this when shooting such light arrows out of heavy draw bows. The string slams the nocks extremely hard at near dry-fire speeds and must be able to withstand the forces.
  5. Most important, the bow must be safe and easy to string and tune.
Small Sample of George Alevekiu's Foot Bow Limb Holders
Delaminated 2011 Bow Limb
Broken 2011 Limb Set.  Note sheared off nock on lower set.
 

What Went Right:
  1. The retractable arrow rest and release carriage worked great!  It provided a very stable platform that diminished the concern that the arrow could dislodge from the string or arrow rest while drawing the arrow back.  This was a huge improvement from first foot bow.  It also solves the problem of to drawing an arrow farther than the arrow is long.
  2. I felt very comfortable my trigger and release system.  It was very precise and consistent and tunable.  It's a keeper.
  3. The brush arrow rest worked well although but needs more more precise left-right and up-down adjustment. I was very happy that none of my test arrows showed damaged fletching due to contact with the bow or arrow rest on release.  This was a first!
That catches us up with the past.  Time for the present.  Next, I'll go into detail step-by-step detail on how I take these lessons learned and apply it to my 2012 attempt.  Ready?  Yahoooo!!!!


Sunday, January 15, 2012

2011 Foot Bow - Version 2.0

Fortunately, I am not starting from scratch for my 2012 bow.  Shortly after I came upon Alevekiu's bows, I couldn't resist the temptation to try shooting the foot bow class at the Salt Flats.  At first, I figured that the best approach was simply to string up and shoot the Alevekiu bows.  Given a modern string and top notch arrows, it should shoot better than it ever has before.  Even better, it could help lend some credibility to Alevekiu's distance claims.  Unfortunately, I quickly found that the release mechanism and rails were very sensitive and unforgiving to the arrows I already had.  The arrows, nock, fletching all had to be perfectly fitted in order to make it work.  Otherwise, clean arrow flight was impossible and the chance of a misfire almost guaranteed.  A few test firings into a foam target with a light set of limbs and I realized it was going to take a lot more work to get these bows shoot ready than I had time for.

I needed to come up with another plan. I borrowed one of Alevekiu limb holders and built a new set of limbs for it.  I built a new chassis and discarded the crossbow rail arrow guides in favor of a suspended arrow rest.  The trigger system was new also and required three iterations before I has something I was happy with.  The first was based on a compound mechanical release but I was disappointed with how clean it loosed the arrow and I was concerned about the durability of the release with the heavy draw of a foot bow.  I'd shoot an arrow and it would come out tail high.  Without changing anything, the same arrow on the next shot would come out tail low and sideways.  This just wouldn't do.

The second release was based on Alevekiu's crossbow style release, but it wasn't a very forgiving system either.  I found it was going to take some work to get this one figured out and I didn't have the time.

The third attempt was based off a latch release from a truck hood.  A little cutting and grinding and I had something that I was finally thrilled with.  It worked much like the hood & loop releases that I used with my hand bows.

The next problem was the arrow rest.  The arrows are often shorter than the bow is drawn so what is the best way to handle this?  Many issues can arise just from the action of dragging the arrow backward across the arrow rest.  The arrow can pop off the string leading to a dry fire, or it can pop off the arrow rest leading to a misdirected arrow into the bow or shooters foot.  I had to do something different.  My solution was to develop a carriage system so that the arrow and rest were drawn together.  It worked great and was easy to tune.  I had a bow resembling a shooting machine where all I had to do was pull back hard and as soon as it hit a predetermined draw point it fired.  AWESOME!

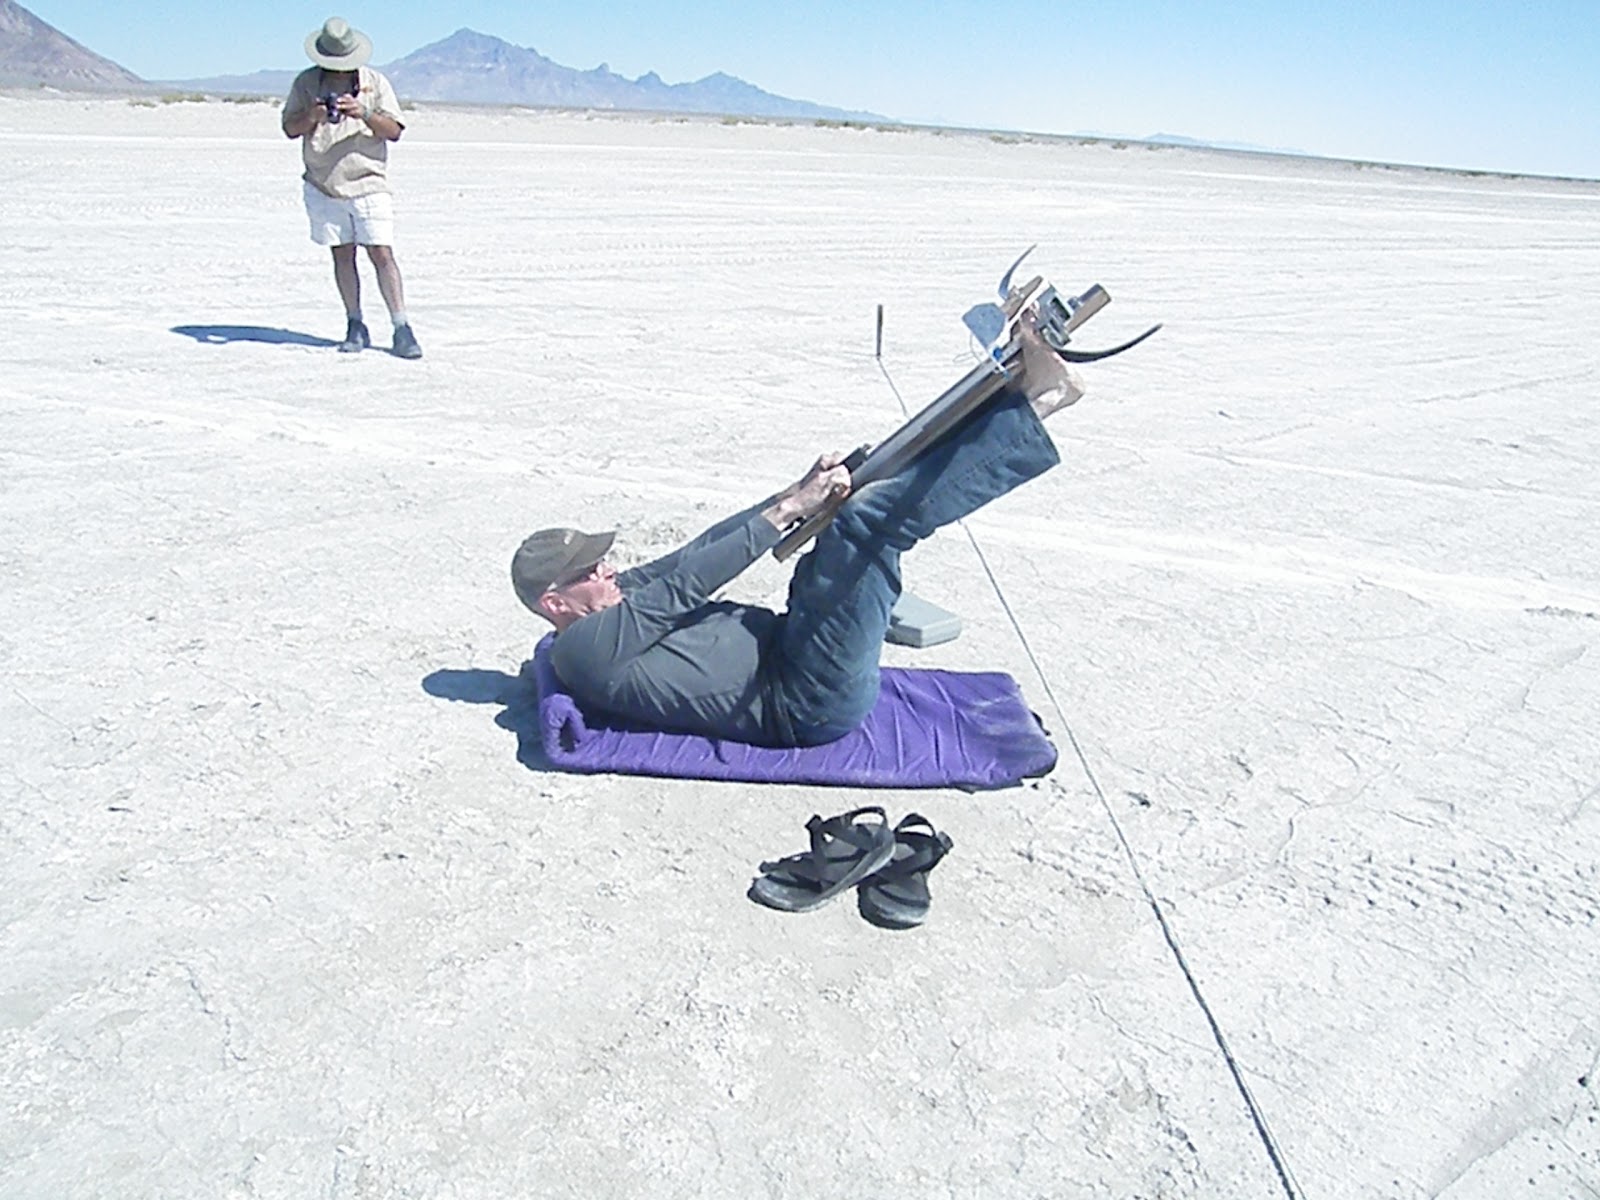
There was no time left to do much more with it, I quickly packed up and drove to Bonneville.  Once there, I ran into one major shortcoming.  I didn't have a bow press to string this contraption!  The set of limbs I built had a pretty light draw weight for a foot bow but it was not light enough to use conventional stringing techniques.  I managed to string it using a combination of clamps, muscle, and stubbornness in the hotel room the night before the shoot.  I heard a disturbing "tick" and a small puff of dust come from somewhere but didn't see any visible issue.  I was a little worried since I had dropped the bow earlier which left a pretty nasty ding in one of the limbs.  Yet it drew back and seemed OK so "game on".

Out at the flats, I took the bow out for a few 300-400 yard test shots at partial draw with some heavy slow shooting arrows. It worked great and I was having a blast!  It was time to take it to the shooting line and try a full round.  My first shot was with my heaviest flight arrow and I set the trigger to go off at about 2/3rd draw.  I pulled back and the bow fired but instead of a clean "thwack!" it let out the most horrible sound.  The bow unstrung itself and I hadn't a clue as to what happened.  I checked my feet to make sure I hand no new holes there.  Next looked over the bow.  A quick check and I found that one of the nocks sheared off the limb tip where I had not shaped it properly.  Too big of a hurry.  Oh well, there was time for another round after lunch.

I shaped a new nock groove and struggled with the stringing again.  My friend James came to rescue and we just about had it restrung when the limb emitted a strange sound and I saw pieces of it go flying across the salt in different directions.  I looked at James and he had a look of shock on his face. Fortunately, he was more surprised than hurt.  Too bad for the bow however.  My chances of shooting foot bow in 2011 were over.


2011 Foot Bow Drawn


Boom!